 Kia Rio: Preparation Of Tools And Measuring Equipment
Be sure that all necessary tools and measuring equipment are available
starting work.
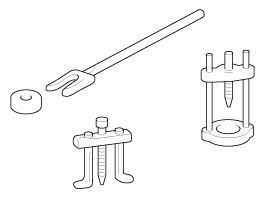
Special Tools
Use special tools when they are required.
Removal Of Parts
First find the cause of the problem and then determine whether removal
or disassembly before starting the job.
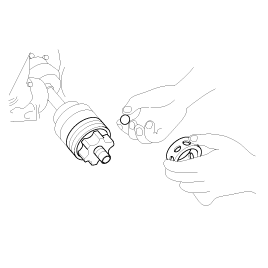
Disassembly
If the disassembly procedure is complex, requiring many parts to be disassembled,
all parts should be disassembled in a way that will not affect their performance
or external appearance.
| 1. |
Inspection of parts
Each part, when removed, should be carefully on suspected for
malfunction, deformation, damage, and other problems.
|
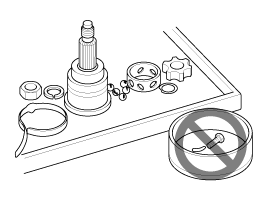
| 2. |
Arrangement of parts
All disassembled parts should be carefully arranged for effective
reassembly.
Be sure to separate and correctly identify the parts to be replaced
from those that will be used again.
|
| 3. |
Cleaning parts for reuse
All parts to be used again should be carefully and thoroughly
cleaned by an appropriate method.
|
Parts
When replacing parts, use KIA MOTORS genuine parts.

Replacement
Standard values, such as torques and certain adjustments, must be strictly
observed in the reassembly of all parts.
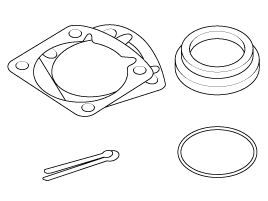
If removed, the following parts should always be replaced with new ones.
| 5. |
Cotter pins (split pins)
|
| 6. |
Plastic nuts
Depending on their location.
|
| 7. |
Sealant should be applied to gaskets.
|
| 8. |
Oil should be applied to the moving components of parts.
|
| 9. |
Specified oil or grease should be applied to the prescribed locations
(oil seals, etc) before assembly.
|
Adjustment
Use gauges and testers to adjust correctly the parts to standard values
correctly.
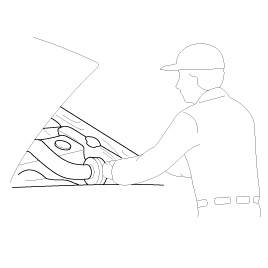
Protection Of The Vehicle
Always be sure to cover fenders, seats, and floor areas before starting
work.
The s ...
1.
Be sure to disconnect the battery cable from the negative (-)
terminal of the battery.
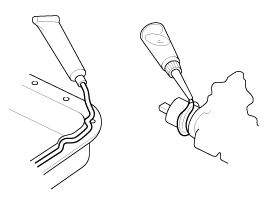
2.
Never pull on the wires when disconnecting con ...
See also:
Tire pressure monitoring system
(1) Low tire pressure telltale / TPMS malfunction indicator
Each tire, including the spare (if provided), should be checked monthly when
cold and inflated to the inflation pressure recommended by ...
Specification
Item
Specification
Coil Resistance (Ω)
22.0 ~ 26.0 [20┬░C(68┬░F)]
...
Lift And Support Points
When heavy rear components such as suspension, fuel tank, spare
tire, tailgate and trunk lid are to be removed, pla ...
Copyright ® www.kirmanual.com 2014-2025


